Backend
Backend
Installation with Docker
Run the following command to install everything through docker.
The installation takes a bit longer on the first pass or on rebuild ...
# in main folder
$ docker compose up
# or
# rebuild the containers for a cleanup
$ docker compose up --build
Wait a little until your backend is up and running at http://localhost:4000/.
Installation without Docker
For the local installation you need a recent version of Node. We are using v25.3.0 and therefore we recommend to use the same version. You can use the node version manager nvm to switch between different local Node versions:
# install Node using '.nvmrc' file
$ cd backend
$ nvm install
$ nvm use
Install node dependencies with yarn:
# in main folder
$ cd backend
$ yarn install
# or just
$ yarn
# or just later on to use version of ".nvmrc" file
$ nvm use && yarn
Copy Environment Variables:
# in backend/
$ cp .env.template .env
Configure the new file according to your needs and your local setup. Make sure a local Neo4J instance is up and running.
Start the backend for development with:
# in backend/
$ yarn run dev
or start the backend in production environment with:
# in backend/
$ yarn run start
For e-mail delivery, please configure at least SMTP_HOST and SMTP_PORT in your .env configuration file.
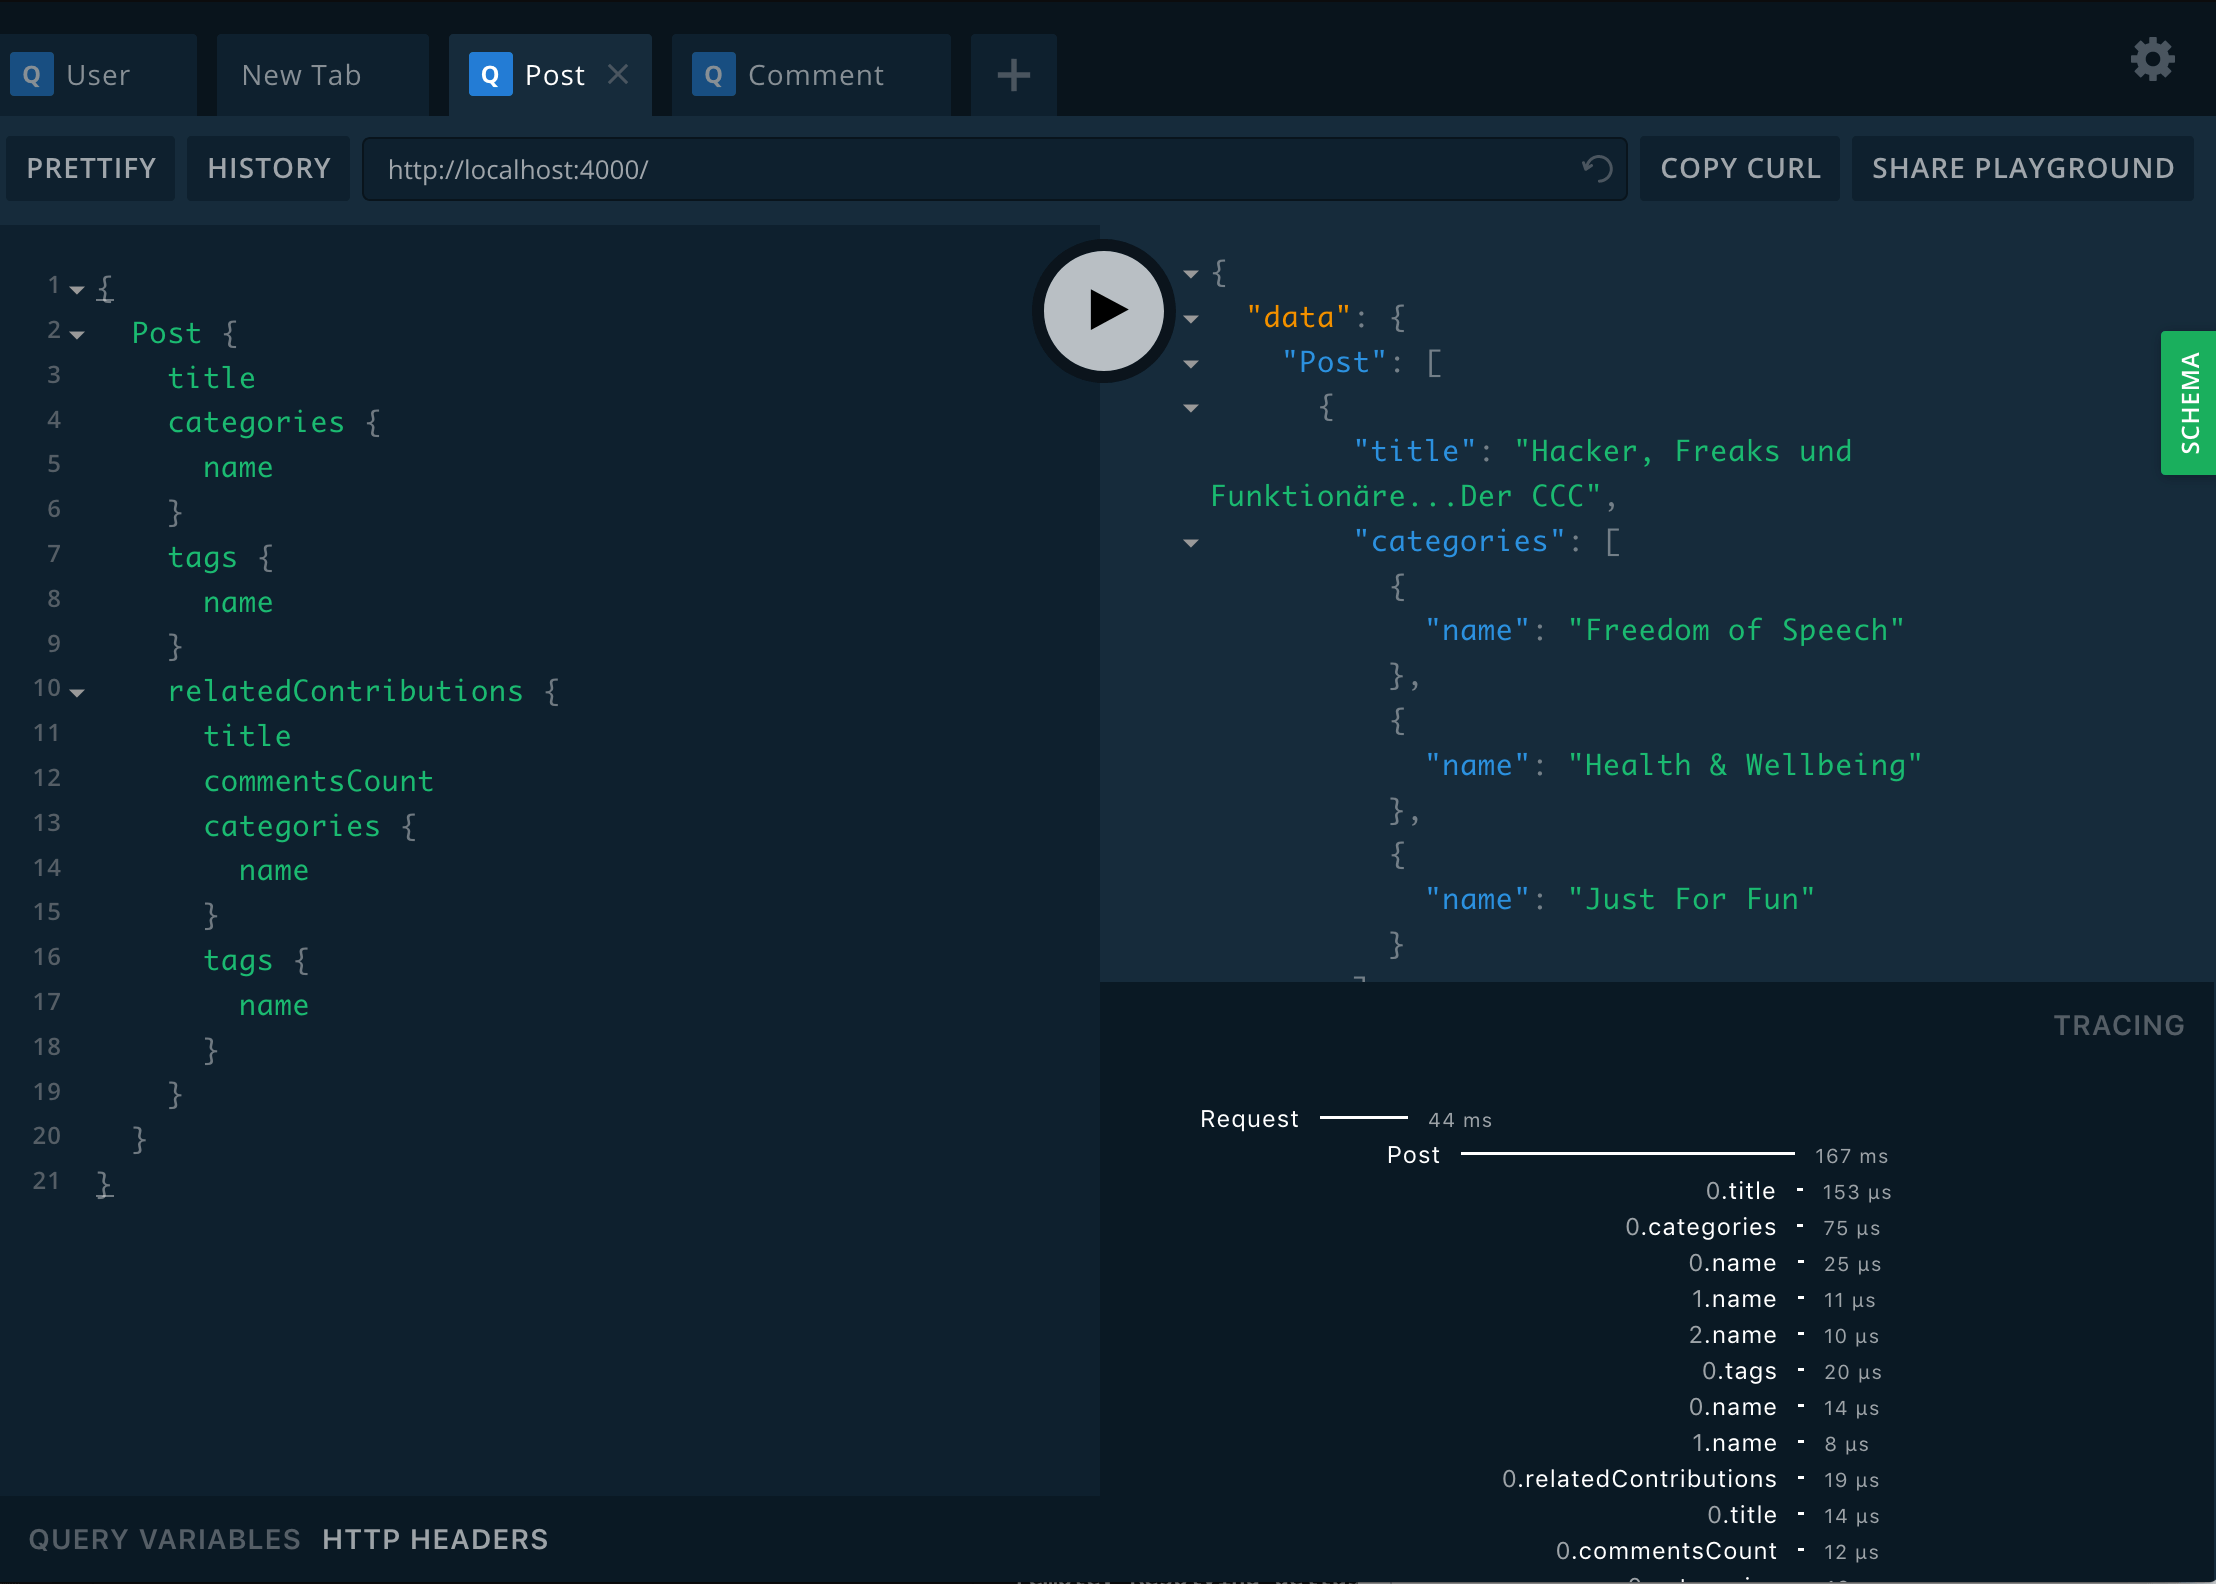
Your backend is up and running at http://localhost:4000/ This will start the GraphQL service (by default on localhost:4000) where you can issue GraphQL requests or access GraphQL Playground in the browser. More details about our GraphQL playground and how to use it with ocelot.social can be found here.
Database
A fresh database needs to be initialized and migrated.
# in folder backend while database is running
yarn db:migrate init
# for docker environments:
docker exec ocelot-social-backend-1 yarn db:migrate init
# for docker production:
docker exec ocelot-social-backend-1 yarn prod:migrate init
# in backend with database running (In docker or local)
yarn db:migrate up
# for docker development:
docker exec ocelot-social-backend-1 yarn db:migrate up
# for docker production
docker exec ocelot-social-backend-1 yarn prod:migrate upOptional Data
You can seed some optional data into the database.
To create the default owner admin@example.org with password 1234 use (this bootstrap account is the instance owner — the failsafe superuser):
# in backend with database running (In docker or local)
yarn db:data:owner
[!WARNING] These are well-known, insecure default credentials intended for local development and CI only. Never run
yarn db:data:owneron a production or internet-reachable instance with the defaults. If you do bootstrap an owner this way, change the password (and ideally the email address) immediately after first login. For production, prefer promoting a real, self-registered account viayarn db:data:promote-owner(below) instead of seeding the default owner.
To promote an existing user to owner (e.g. a legacy instance that has no owner yet — the API only lets an existing owner grant the owner role), use, by email, slug or id:
yarn db:data:promote-owner <email | slug | id>When using CATEGORIES_ACTIVE=true you also want to seed the categories with:
# in backend with database running (In docker or local)
yarn db:data:categories
Branding Data
You might need to seed some branding specific data into the database.
To do so, run:
# in backend with database running (In docker or local)
yarn db:data:branding

# for docker
docker exec ocelot-social-backend-1 yarn db:data:branding
Seed Data
For a predefined set of test data you can seed the database with:
# in backend with database running (In docker or local)
yarn db:seed

# for docker
docker exec ocelot-social-backend-1 yarn db:seed
Reset Data
In order to reset the database you can run:
# in backend with database running (In docker or local)
yarn db:reset
# or deleting the migrations as well
yarn db:reset:withmigrations

# for docker
docker exec ocelot-social-backend-1 yarn db:reset
# or deleting the migrations as well
docker exec ocelot-social-backend-1 yarn db:reset:withmigrations
# you could also wipe out your neo4j database and delete all volumes with:
docker compose down -v
Note: This just deletes the data and not the constraints, hence you do not need to rerun
yarn db:migrate initoryarn db:migrate up.
Note on caches: the role & policy permission caches live in the running server process. A
db:reset/db:seedruns in a separate process, so it cannot clear them directly — the running server's caches would otherwise go stale (e.g. still point at roles that were just wiped). In dev/test the reset/seed scripts therefore best-effort POSTmutation { resyncCaches }to the server, which re-reads both caches from the DB. This mutation is disabled in production; there a cache resync is simply a rolling restart, since each instance re-reads the DB on boot.
Data migrations
Although Neo4J is schema-less,you might find yourself in a situation in which you have to migrate your data e.g. because your data modeling has changed.
Generate a data migration file:
# in backend
$ yarn run db:migrate:create your_data_migration
# Edit the file in ./src/db/migrations/

# for docker
# in main folder while docker compose is running
$ docker compose exec ocelot-social-backend-1 yarn run db:migrate:create your_data_migration
# Edit the file in ./src/db/migrations/
To run the migration:
# in backend/ while database is running
$ yarn run db:migrate up

# for docker
# in main folder while docker compose is running
$ docker exec backend yarn run db:migrate up
Testing
Beware: We have no multiple database setup at the moment. We clean the database after each test, running the tests will wipe out all your data!
Run the unit tests:
# in backend/ while database is running
$ yarn run test

# for docker
# in main folder while docker compose is running
$ docker exec ocelot-social-backend-1 yarn run test
If the snapshots of the emails must be updated, you have to run the tests in docker! Otherwise the CI will fail.
# in main folder while docker compose is running
$ docker exec ocelot-social-backend-1 yarn run test -u src/emails/